

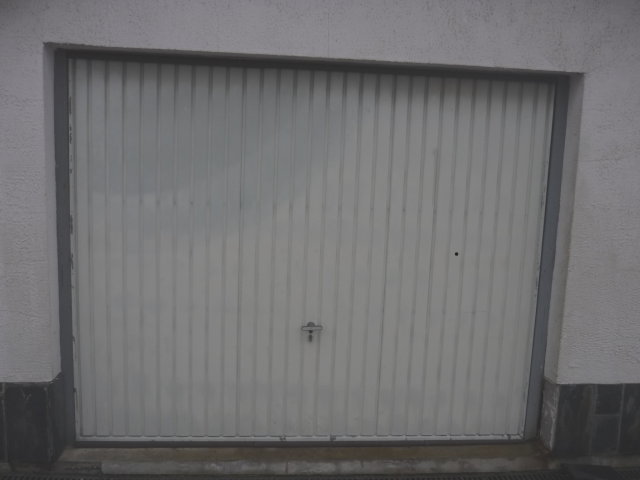
How to insulate an existing garage door and reduce leaks and thermal bridges in a garage and a garage door?
- This page is the report of an optimization of thermal bridges and leaks of a garage and particularly of thermal leaks on a garage door.
- The method is valid as much for older doors (our case with a door of about twenty years) as recent, because, although better “insulated”, the leaks and thermal bridges are still legion.
- The method was applied to an overhead door but a sectional garage door automated view may well be also optimized using this method.
- This concerns internal garages in houses: whether they are in the basement or on the ground floor (our case). Indeed; there is little point in optimizing thermally a garage that is neither internal nor attached to a house.
- This article is condensed in photos of the thermal optimization of our garage, for detailed explanations, refer to the subject of forums: thermal leakage of the garage door
- Learn more and ask your question? visit forum insulation and heating
The problem: many leaks via "openings" and thermal bridges through the metal structure
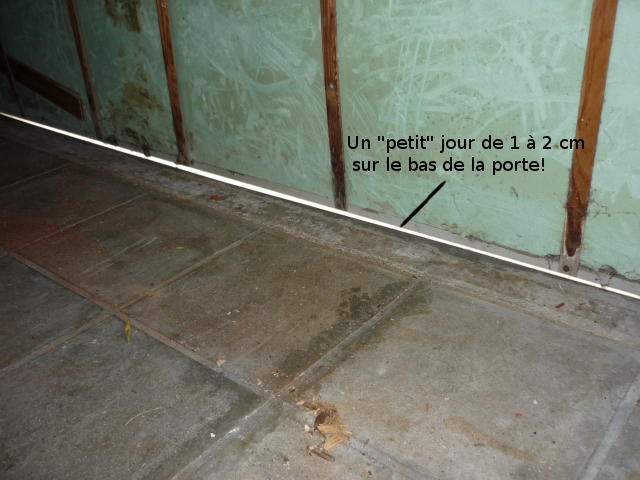
A poorly insulated garage (it is in 90% of cases even in new constructions) or worse with leaks (a majority of even new doors) therefore constitutes, in itself, an important thermal bridge for the entire home. This is all the more valid for the internal garages in the house which are rarely thermally insulated from the latter.
The methods and solutions to fill the days and limit thermal bridges
bottom flanges of placing door on the top and bottom of the garage door, window seals on the amounts and extruded polystyrene (or expanded) on the lintel and the amounts.
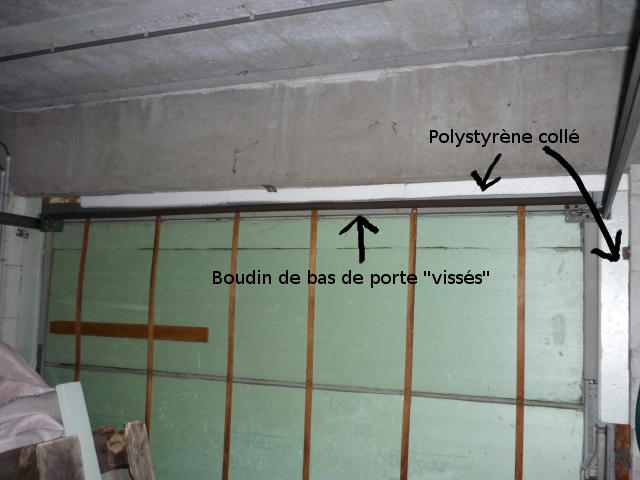
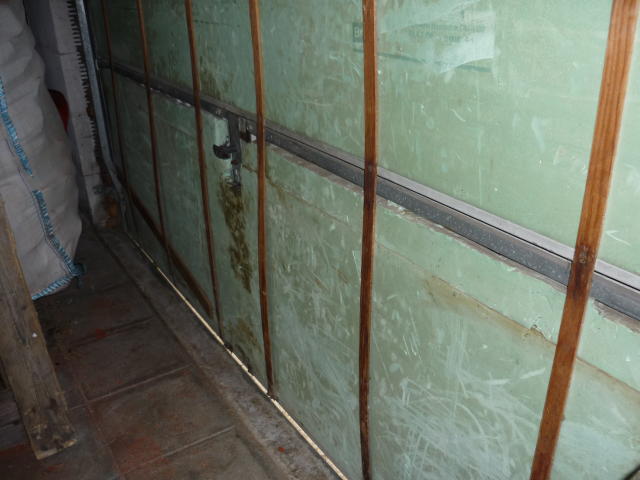
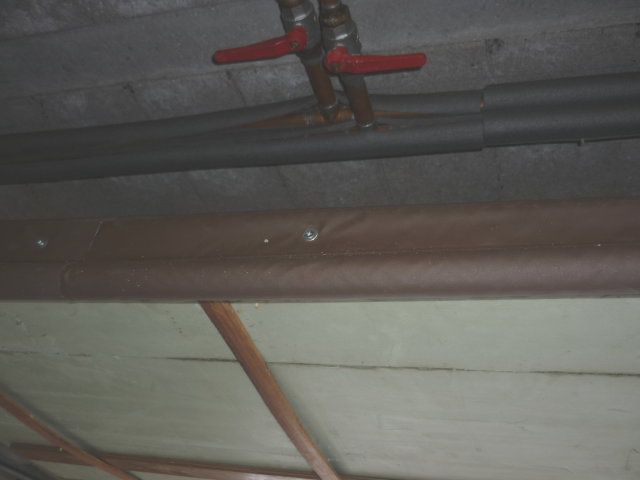
Details of the various parties
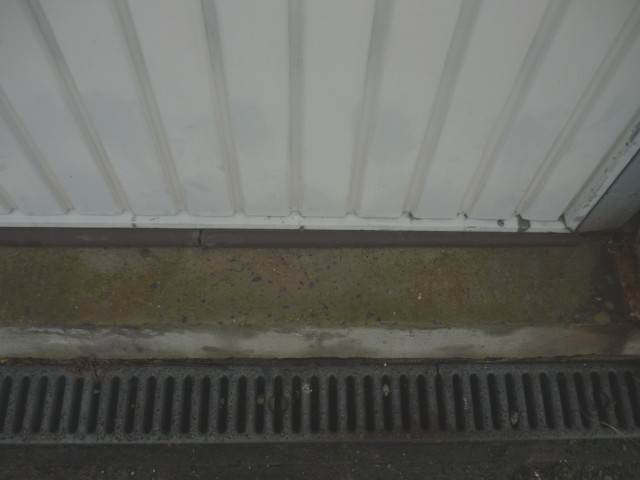
The low door, door open
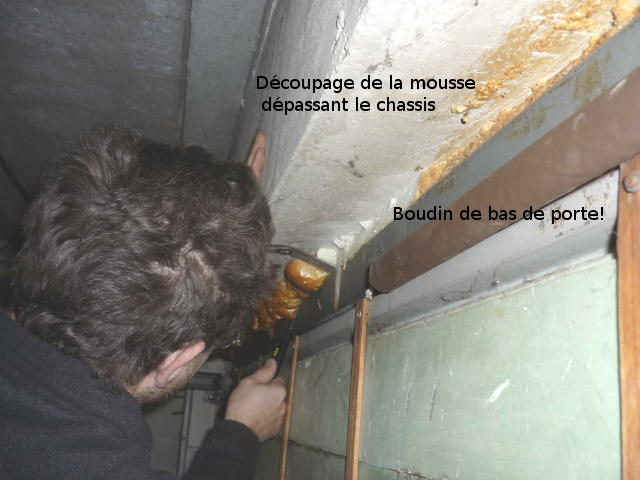
The method is the same for the top and bottom: the tubes are screwed.
Method for hanging the rollers at the bottom: 2 aluminum strips of 3 mm screwed into the bottom of the door. It is not very nice when you open but you have to leave some "operating" play otherwise it blocks.
For the top, we can spend strips. Attention, they are required to tear down if the strands.

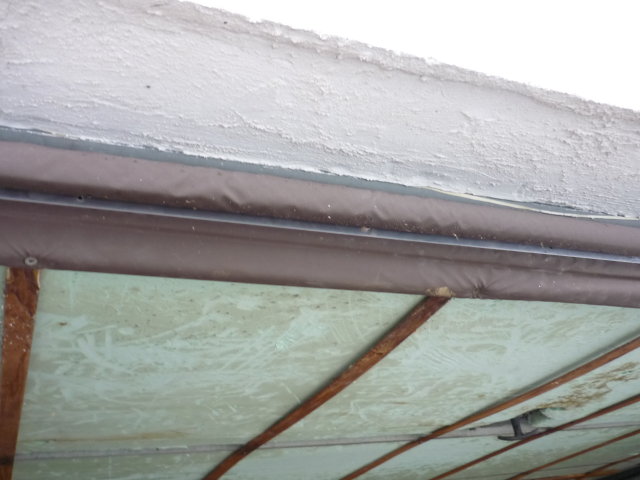
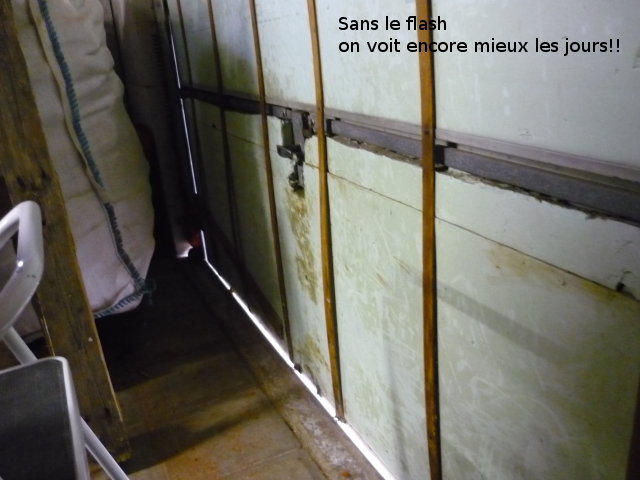
On the 2 following photos, I put the outer roll up to better see the ruler:
- I put a small overlap of a few cm of the sausages: the sausage N-1 will enter the envelope of the sausage N by 2 to 3 cm.
- This is only possible if the sausage and casing are independent: they are generally the cheapest sausages!
- the missing screw is normal: when I drilled I noticed that water was flowing from the door which therefore did not evacuate all the water, so it is an evacuation.
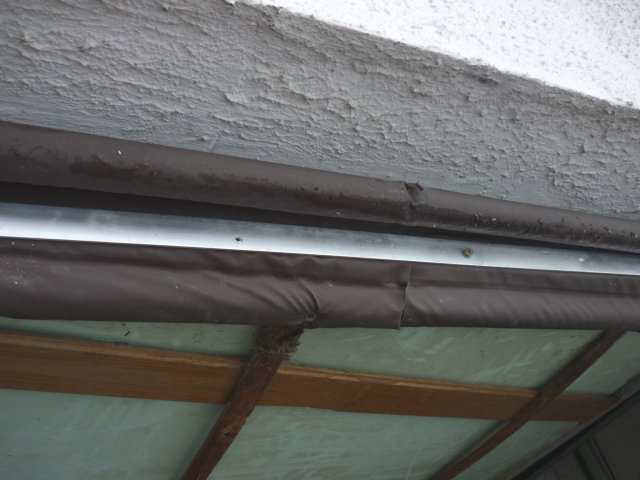
The bottom of the outer side door, door closed
It fits perfectly: the flanges are in slight compression when the door is closed, ensuring very good insulation against drafts!
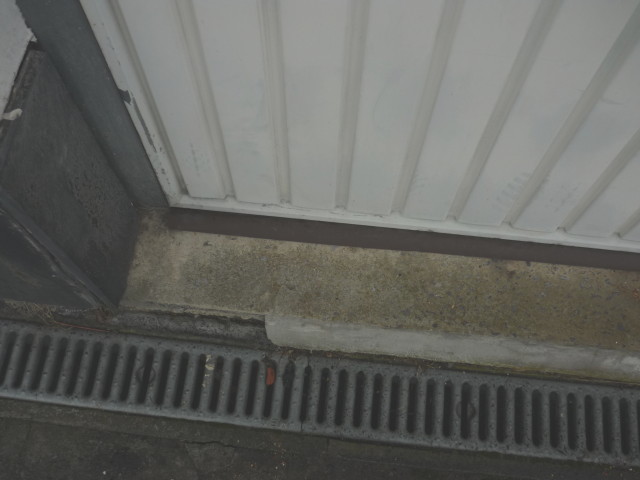
The door bottom door closed and interior side
Even if the 1st row of tubing on the outside was not well adjusted, the 2nd row constitutes an additional barrier to leaks anyway! Buy the flanges that best suit your configuration: take the maximum 5 mm more than the daytime space at the door.
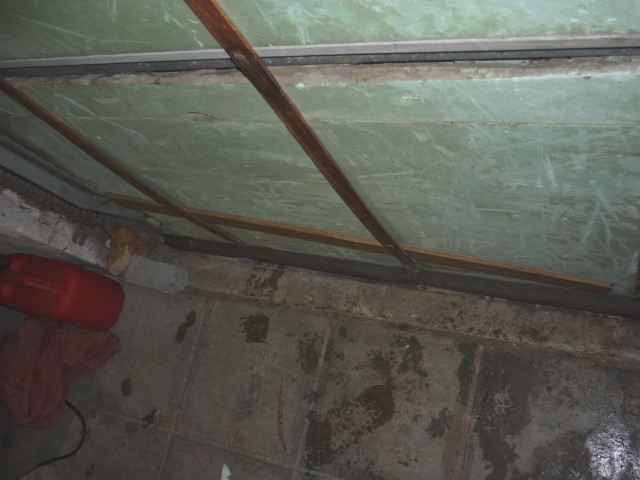
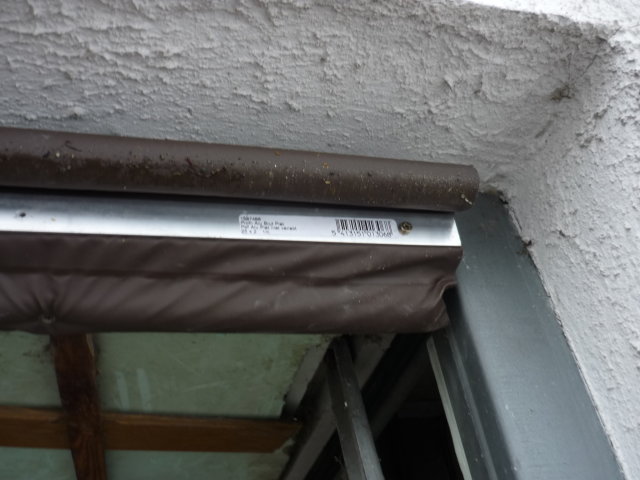
The outer side and inside amounts
Our tilting door is asymmetrical: the lower part the supporting frame is on the inside and the upper part is on the outside. The leak isolation method is the same in both cases: a small “D” joint.
I took the largest that existed (6 to 8 mm), because who can do more can do less and these joints are very compressible!
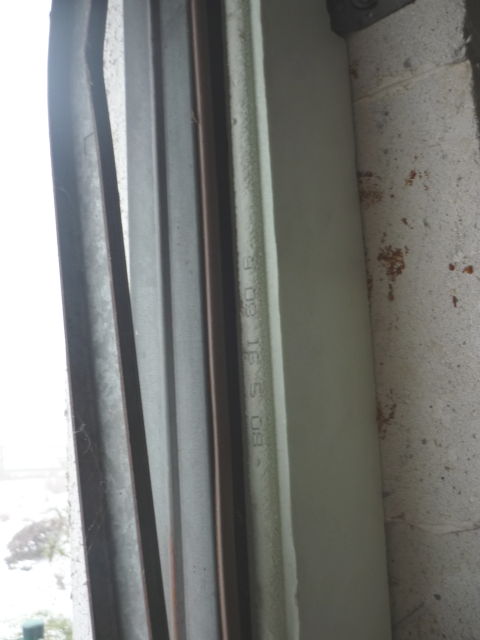


Top of the door inner side
The aluminum strips are not necessary for the top but nothing prevents to put some.

And when the door is closed:

final results and conclusions
Here is an overview of the optimized door rather quiet right?
Cost: less than € 30.
The modification of the door, excluding insulation of the lintel will have cost: 5 door rolls at 3 €, 2 flat aluminum strips of 1 m at 4 € (I believe) and a few screws and a good hour of work (including preparation of the hardware) on the door only.
Some extruded and expanded polystyrene drops were used for the frame.
mechanical results: the door opens and closes very easily although it is, of course, necessary to compress the tubes on the last cm.
It is therefore necessary to press slightly more when opening and closing.
For those who are interested in this DIY: before screwing in the tubes, make numerous opening and closing tests.
thermal results: we won 3 4 ° C in the average garage and much more when there is cold wind.
Learn more and ask questions: thermal leaks from a garage door